How to Pay a Contractor Without Getting Burned — Payment Terms Explained
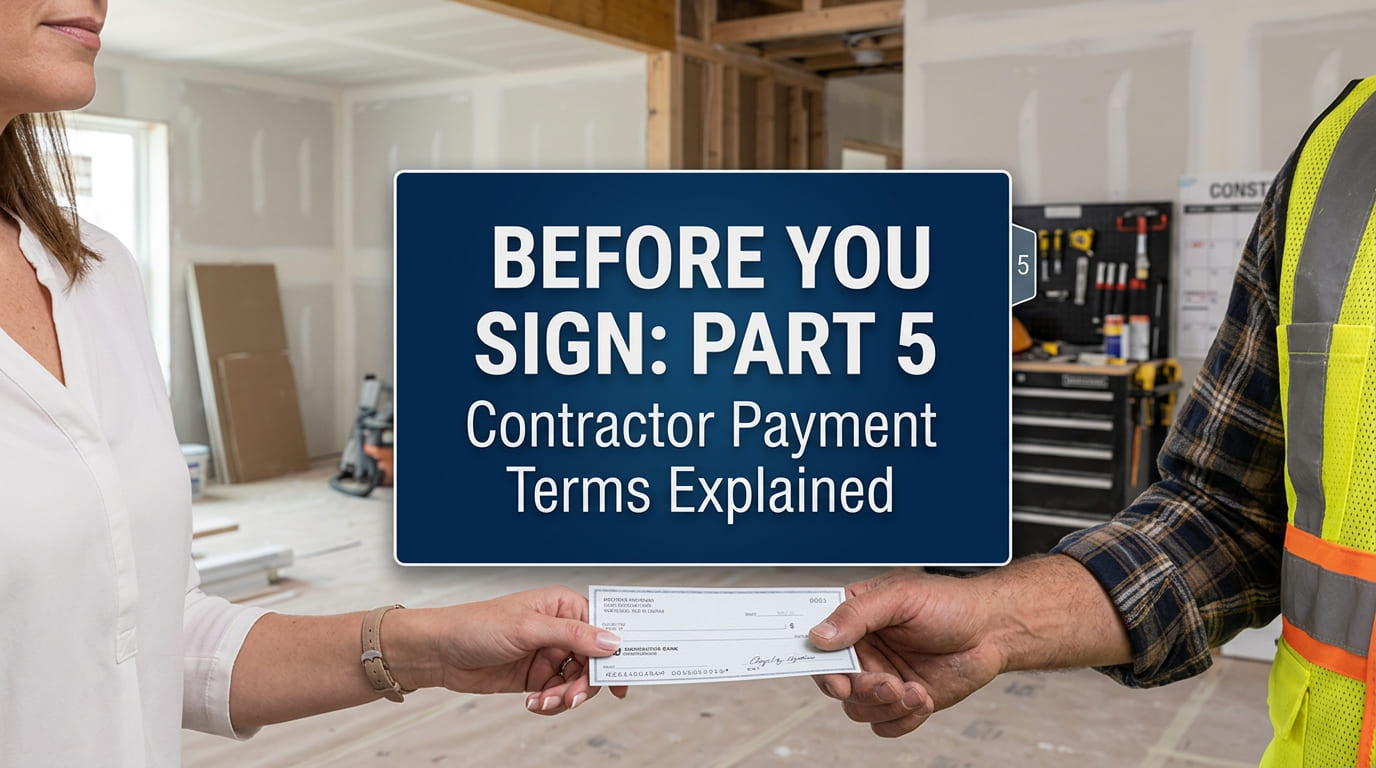
Payment is the one part of a construction contract most people think they understand. How to pay a contractor? Simple — You agree on a price. You write checks. The work gets done.
Except it’s rarely that simple — and the structure of how and when you pay has more impact on your project outcome than almost any other contract term.
Pay too much too soon and you lose your leverage. Pay in the wrong increments and you fund work that hasn’t happened yet. Skip retainage and you have no financial incentive to keep the contractor engaged through the messy final stretch of a project.
The payment section of your contract isn’t just accounting. It’s the mechanism that keeps both parties accountable from start to finish.
The Basic Contractor Payment Structures
Construction contracts use a few standard payment models. Knowing which one you’re signing matters.
Fixed price (lump sum)
You pay a set total for a defined scope of work. The contractor carries the risk if their costs run over — as long as the scope doesn’t change. This is the most common structure for residential work and straightforward commercial projects. It’s predictable for owners, which is why most people prefer it.
Time and materials (T&M)
You pay for actual labor hours and materials used, plus a markup. The contractor carries no cost risk — you do. T&M can be appropriate for small repairs or early-phase work where the scope isn’t yet defined, but it’s a dangerous structure for larger projects without a not-to-exceed cap. Without a cap, there’s no ceiling on what you can owe.
Cost-plus with a fee
Similar to T&M — you pay actual project costs plus a fixed fee or percentage for the contractor’s overhead and profit. More transparent than lump sum, but requires you to trust the contractor’s bookkeeping and actively review invoices. Common on larger custom projects where the full scope can’t be priced upfront.
A Real-World Example: The 50% Upfront Problem
A homeowner agreed to pay 50% upfront on a $180,000 kitchen and master bath renovation. The contractor said it was needed to order materials and mobilize the crew. Reasonable enough.
Six weeks in, the project stalled. The contractor had two other jobs running simultaneously and the crew was rotating between all three. Progress slowed to a trickle. When the homeowner pushed back, the contractor pointed out that $90,000 of the contract was already paid — and that the remaining balance wasn’t enough to keep the project financially interesting.
The project dragged on for eight months beyond the original schedule. The homeowner had no financial leverage to accelerate it.
Payment tied to progress — not time — would have kept the contractor’s financial interest aligned with the project’s completion.
The Rule of Contractor Payment Leverage
Here’s the single most important principle in how to pay a contractor: the contractor should always have more money to earn than you have already paid.
That gap — between what’s been paid and what’s still owed — is your leverage. It’s the financial incentive that keeps the contractor engaged, responsive, and motivated to finish the job correctly. The moment that gap closes or reverses, your leverage disappears.
A payment schedule tied to measurable milestones — not calendar dates, not arbitrary percentages — is the best way to maintain that gap throughout the project.
A reasonable milestone-based structure for a mid-size renovation might look like:
- 10–15% at contract signing (mobilization and material deposits)
- 25% at completion of demolition and rough framing
- 25% at completion of rough mechanical, electrical, and plumbing
- 20% at drywall complete and finishes underway
- 10% at substantial completion
- 5–10% held as retainage, released after final punch list and closeout
The exact percentages vary by project type and size. The principle stays the same: money follows completed work.
What Is Retainage — and Why Does It Matter?
Retainage is a percentage of each payment — typically 5% to 10% — that the owner withholds until the project reaches final completion. It’s one of the oldest risk management tools in construction, and it works.
Here’s why it exists: the final 10% of a construction project is often the hardest to get done. Punch list items, final inspections, touch-ups, missing hardware, incomplete landscaping — the small stuff that contractors are tempted to deprioritize once the big work is finished and the crew has moved to the next job.
Retainage gives you a financial mechanism to keep that from happening. The contractor doesn’t get their last check until the job is genuinely complete.
For larger commercial projects, retainage is standard practice and contractors expect it. For residential work, it’s less common — but it’s still a reasonable ask, especially on projects over $50,000.
Invoicing, Documentation, and Disputed Invoices
A good payment section doesn’t just describe the payment schedule — it also defines the process around invoicing.
Invoicing procedures
The contract should specify how invoices are submitted — format, required documentation, and to whom. On larger projects, invoices are often supported by a schedule of values: a breakdown of the contract price by line item that lets you verify what percentage of each component is complete before you pay for it.
Payment timeline
How long do you have to pay after receiving an invoice? 15 days is common on residential projects. 30 days on commercial. The contract should state this clearly — and it should work both ways. If you’re slow to pay, the contractor may have the right to stop work or charge interest.
Disputed invoices
What happens when you receive an invoice you don’t agree with? The contract should give you a defined window to raise a dispute — typically 7 to 10 days — and describe how it gets resolved. “We’ll figure it out” is not a process. A process protects both sides.
What Good Looks Like
- Payment tied to measurable milestones, not calendar dates or arbitrary percentages
- No single payment — including the deposit — exceeds 25–30% of the contract value
- Retainage of 5–10% held through final completion and punch list
- A clear invoicing process with required documentation and a defined payment window
- A defined process for disputing invoices before payment is due
- For T&M or cost-plus contracts: a not-to-exceed cap that limits your total exposure
Red Flags to Watch For
- A deposit requirement of 50% or more — this is above industry standard for most project types
- Payments tied to dates rather than completed work milestones
- No retainage provision on a project over $50,000
- A T&M contract with no not-to-exceed cap
- No defined process for disputed invoices — just a general expectation that you’ll “work it out”
- The contractor insists on cash payments with no paper trail — walk away
The Takeaway
How you structure payments on a construction project is one of the most direct ways you can protect yourself — without being adversarial about it. A fair payment schedule protects the contractor too. It ensures they’re being compensated as work progresses, not chasing a large final payment at the end.
The goal is alignment. You want the contractor’s financial interest pointing in the same direction as your project completion. A well-structured payment section makes that happen.
Before you sign, ask yourself: if this contractor slowed down or stopped showing up tomorrow, how much would I have already paid — and how much work would I have to show for it? If the answer makes you uncomfortable, renegotiate the payment schedule before you sign.
Previous in the series: Your Contractor Is Behind Schedule. What Does Your Contract Actually Say?
Up next in the series: How to Avoid Contractor Change Order Surprises — The #1 Budget Killer Explained.
This post is part of the Before You Sign series — a nine-part guide to construction contracts for homeowners, startups, and small businesses. See the full series.